

How To Install Gpu Sideways
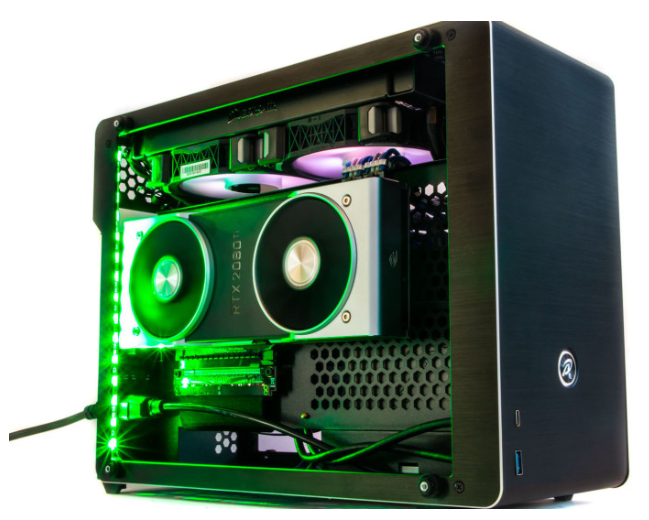
Vertically mounting your GPU is one of the fanciest things yous tin can do to make your PC await aesthetically beautiful. If your graphics card features RGB lighting, or if y'all have gone the extra mile and installed a custom water coolant then yous probably don't want it facing downwardly.
Many PC cases support vertical GPU mounting, merely they are rather expensive, and if yous already have a case that yous like, the chances of you irresolute your case is pretty low.
That leaves you with only one selection – finding a magical fashion to mount your GPU vertically. If you lot're ane of those enthusiasts, then fret not, we're here to guide you lot.
So, without further ado, allow'south get started!
Why would yous Mount Your GPU Vertically?
If you have the latest graphics with fancy RGB lighting and beautiful blueprint, then the best style to display its beauty is to mountain information technology vertically. Yet, it is worth mentioning that it does non have whatever particular reward apart from aesthetics.
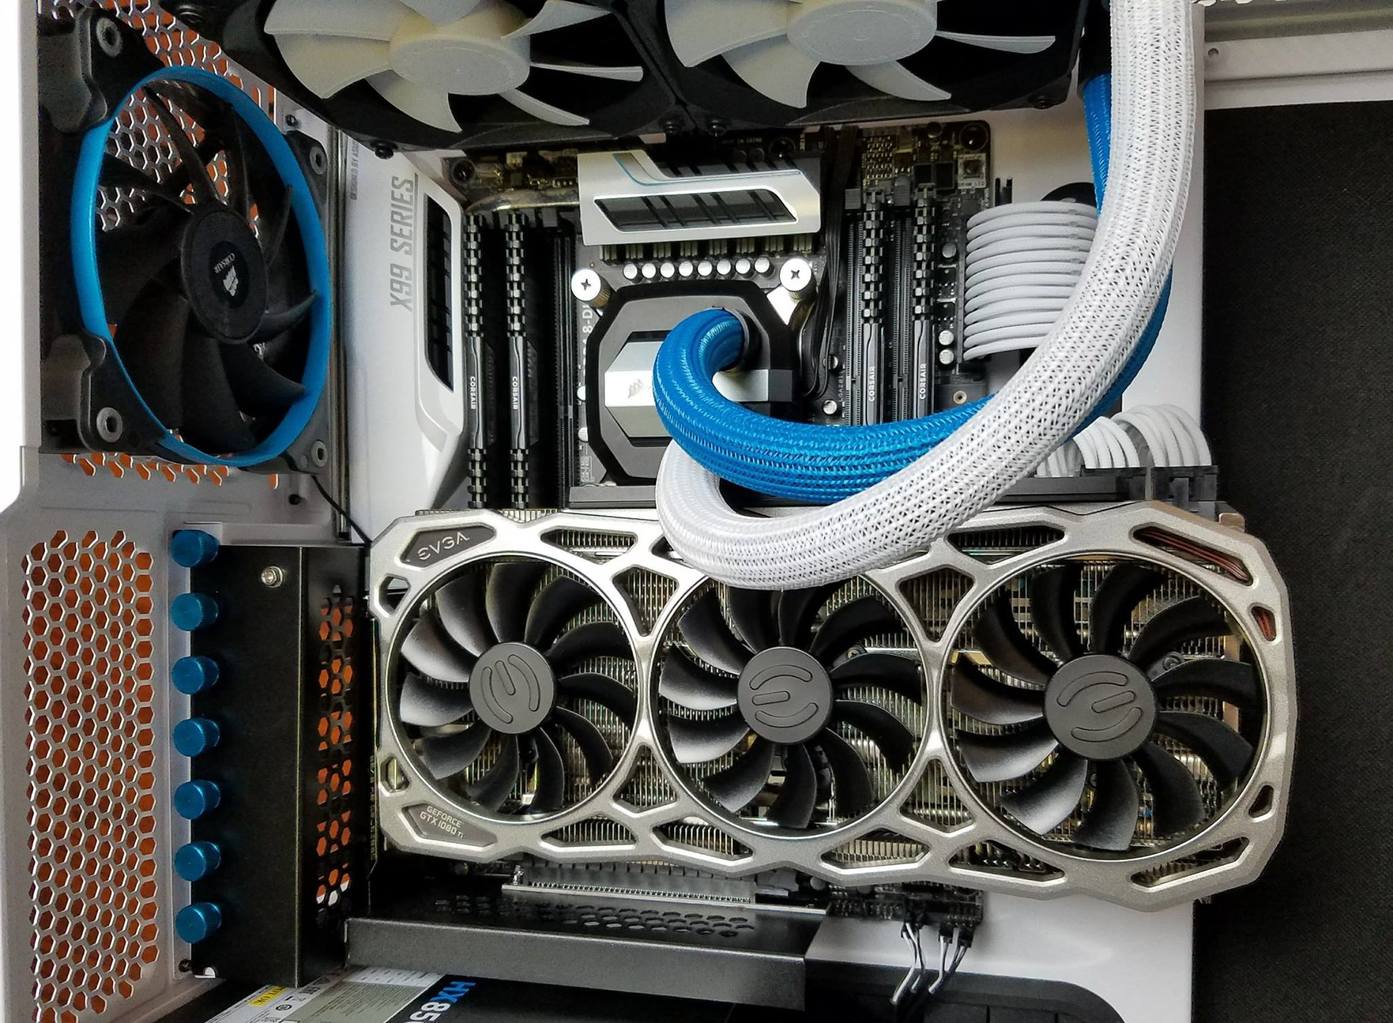
Albeit vertically mounted graphics card has a certain appeal to it, they may cake all your motherboard's PCIe slots. In improver, you may block potential airflow for your graphics card because of which it might go a little too hot, especially in summer.
Merely hey, yous're non here to mind to all the negative aspects of vertically mounting your GPU. And so, let's jump on to the main form.
Tips for Mounting GPU Vertically
Before y'all go along this journey, there are few tips that you should take into consideration earlier mounting your GPU vertically.
- Vertically mounted graphics carte du jour tends to cake potential airflow in the PC case. To avert this, it is all-time to install one frazzle fan at the back, and two intake fans at the front end of the case.
- Your graphics carte du jour's width mustn't exceed two.5 to two.7 slot width. If your graphics card is bigger, we recommend getting some other case with a vertical mounting bracket to avoid airflow blockage. This is because if your GPU blocks more than infinite, your fans will operate at a higher frequency and voltage due to congestion. As a consequence, your graphics bill of fare will suffer from college temperatures.
Now that you lot know what things to consider let us leap on to the main game!
How to Do Information technology?
There's a couple of problems with some cases when mounting your GPU vertically – either they get likewise shut to the side panels or choke off your graphics card if yous take got a dual-slot carte du jour.
But since yous don't desire to modify your case, and want a vertical mount anyway, the all-time mode to exercise information technology is to employ an aftermarket vertical mount adapter.
There are many options to choose from, so information technology all goes down to your personal preference. Once you have selected an aftermarket vertical mountain adapter that best fits your budget, we tin can move on to the adjacent step.
Stride 1: Unboxing
This is a pretty generic footstep where you just unbox your aftermarket vertical mount adapter. Why are we mentioning this stride? Because you must know what pieces of equipment yous will be getting.
The first component that you volition find is a riser card – PCIe express cable that will actually connect your graphics carte to your motherboard.
Then you will run into a 90-degree display port considering the way your GPU is going to mount, it's going to recess in the case a little, so you need to be able to attain it for accessibility. Depending on which aftermarket product you choose, you might get two 90 caste display port cables, which is overnice.
After that, you will find the actual adapter plate itself with some screws. Pretty neat, right?
Annotation that most aftermarket adapters take effectually vii slots, and so you need to make certain that your example has seven available slots. Afterwards that, let us move on to the next step.
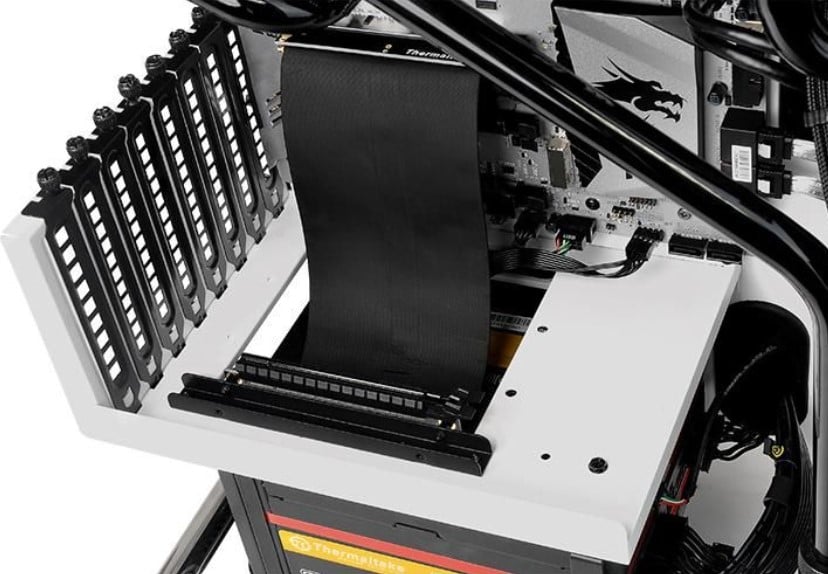 Step 2: Attaching Adapter Plate
The notches on the plate will face up the motherboard side, and it will attach to your instance. Yous will know when it is attached perfectly. Then you screw the plate down with your normal screws that you lot would use to mountain any PCIe adapter.
Before you lot attach the plate, make sure that you have continued the bottom piece of the plate with the adapter plate. This bottom piece is essential because this is where your riser card volition mountain to.
Align the screw holes on both the plates and use the given screws to connect both plates. Pretty simple, right?
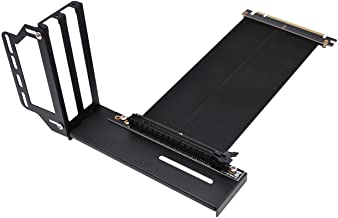
Footstep 3: Connect the Riser Card
In one case you accept connected the bottom piece, align the holes in the riser carte du jour to your bottom slice. Make sure that the riser carte is aligned perfectly. And so but use the screws to tighten it down.
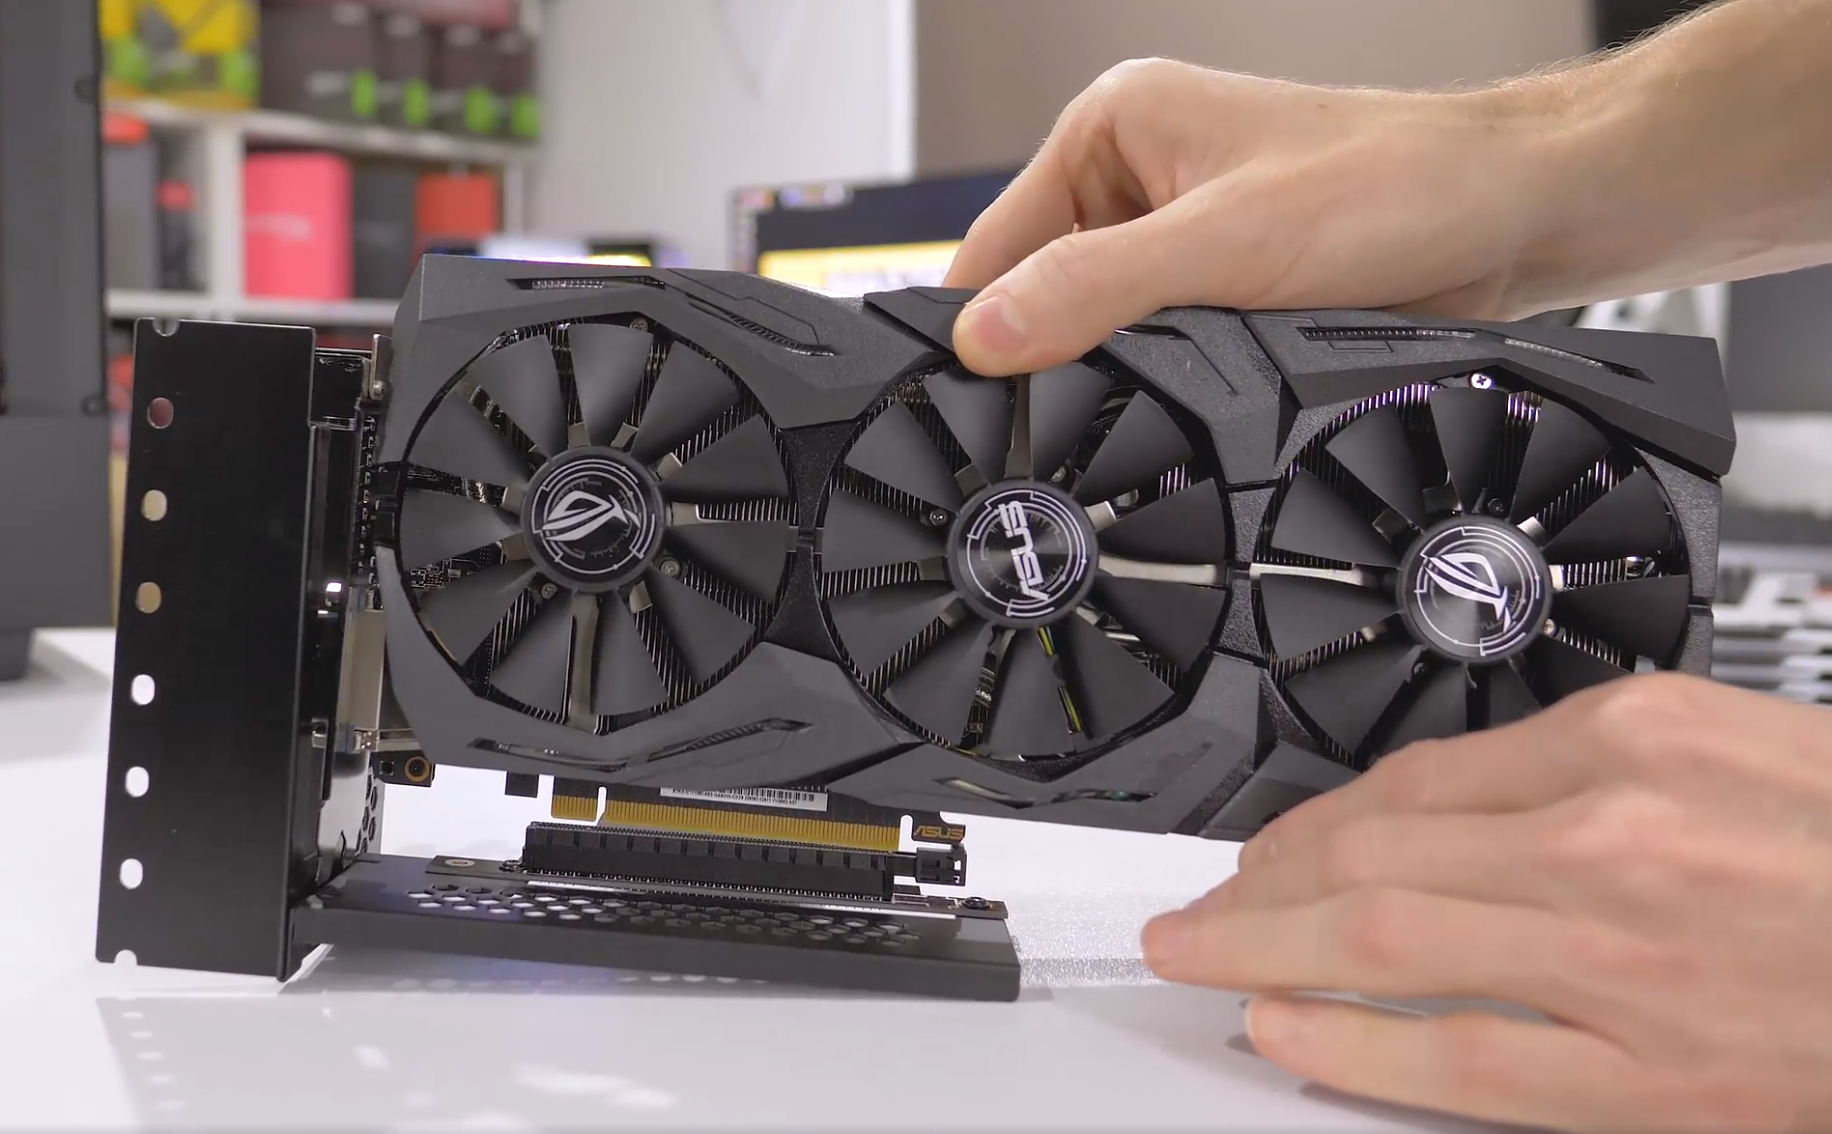
Step 4: Connect the Graphics Carte du jour
So far, so adept, correct? This step is pretty simple. Connect your graphics carte on to your riser carte and use screws to tighten information technology up.
The connecting procedure is very similar to that of horizontal GPU connect. Once y'all have washed that, your vertical mountain is ready to be installed on to your case.
Step 5: The Finale
The last step requires you to connect the ribbon of the riser cable to your motherboard. When you've done that, simply connect the mounting bracket on to your example and tighten it with screws.
Congratulations! You have transformed your rock-historic period PC look to a more modern and flashy await!
Concluding Thoughts
Now that y'all know how to mountain your GPU vertically in whatever PC case, you lot can prove-off your GPU to your friends or your subscribers.
So, what are y'all waiting for? Get yourself a vertical mount adapter and make your PC aesthetically OCD pleasing.
![]()

Source: https://appuals.com/how-to-mount-your-gpu-vertically-in-any-pc-case/
Posted by: sterlingthwithis.blogspot.com
0 Response to "How To Install Gpu Sideways"
Post a Comment